Unlock Your Soundtrack: A Step-By-Step Guide On How To Transfer Apple Music To Spotify!

Table Of Contents
In the world of music streaming, transitioning from Apple Music to Spotify is a common journey for many enthusiasts. This comprehensive guide is your compass, ensuring a smooth switch without losing a single note.
Before I dive into the intricacies, a bit of groundwork is essential. You’ll need an active Apple Music subscription and a Spotify account, if you don’t have one already. This guide unfolds in six chapters, taking you step by step through the process of transferring your beloved Apple Music playlists and songs to Spotify.
So, let’s embark on this melodious journey and make your music groove seamlessly on Spotify. If you want to learn how to transfer apple music to spotify, keep on reading till the end…
Chapter 1: Preparing For The Transition
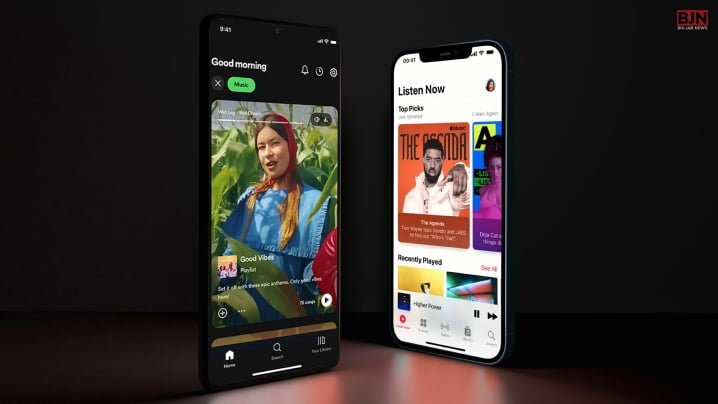
Before making the move from Apple Music to Spotify, a little groundwork is essential to ensure a seamless transition. Here’s what you need to get started:
1. Apple Music Subscription:
Begin by confirming that your Apple Music subscription is active and up to date. You’ll need this to access your playlists and songs for the migration.
2. Spotify Account:
If you haven’t already, create a Spotify account. This is your destination for all the music you’re about to transfer. It’s user-friendly and offers a world of music waiting for you.
3. Music On Apple Devices:
Ensure that the songs and playlists you want to transfer are either downloaded or readily accessible on your Apple devices. This ensures that you have everything you want to transfer in one place.
By ticking off these three key prerequisites, you’ll set yourself up for a smooth transition from Apple Music to Spotify. With the groundwork laid, you’re now ready to embark on the journey of transferring your beloved music collection.
Chapter 2: Exporting Apple Music Playlists

Transferring your beloved Apple Music playlists to Spotify begins with exporting them in a compatible format. This crucial step ensures your playlists are ready to make the leap to their new musical home. Here’s a simple breakdown of how to do it:
1. Open iTunes:
Begin by launching iTunes on your computer, making sure you’re signed in with the Apple ID linked to your Apple Music account.
2. Export Playlists:
Locate the playlist you wish to transfer, right-click on it, and select “File” > “Library” > “Export Playlist.”
3. Save As XML:
A window will appear, prompting you to choose a file format. Opt for XML, which is a universally compatible format, and save the playlist to your computer.
4. Repeat As Needed:
This one is a simple and straightforward step! If you have multiple playlists to transfer, repeat this process for each one individually.
By exporting your playlists in XML format, you’re essentially creating a bridge between Apple Music and Spotify. This exported file will serve as the key to unlocking your musical treasures on Spotify. Remember, preparation is key, and this step sets the stage for a smooth and seamless transition, ensuring that none of your cherished tunes are left behind as you journey into the world of Spotify.
Chapter 3: Using A Third-Party Service

Now that you’ve successfully exported your Apple Music playlists in XML format, the next step is to employ a third-party service to convert them into Spotify-compatible playlists. This chapter introduces ‘Soundiiz,’ a user-friendly platform that simplifies the migration process.
To start, visit Soundiiz’s website (soundiiz.com) through your preferred web browser. If you haven’t already, you’ll need to create a Soundiiz account or log in if you’ve got one. This step ensures a secure and personalized experience throughout the migration.
Once you’re logged in, navigate to the Soundiiz dashboard and click on the “Platform to Platform” option. Here, you’ll specify Apple Music as your source platform and Spotify as your target platform, setting the stage for the transfer.
Now, it’s time to connect your music services. Click on the ‘Connect’ button for Apple Music, and Soundiiz will guide you through authorizing access to your Apple Music account. Repeat this process for your Spotify account.
With both accounts successfully connected, you’re ready to select the playlists you want to transfer. Click “Next,” and Soundiiz will display the number of tracks and playlists to be migrated. Confirm the details, and then click “Start Migration.”
Soundiiz will begin processing your request. After a brief period, you can check your Spotify account. Voilà! Your Apple Music playlists should now be seamlessly transferred to Spotify, allowing you to enjoy your favorite tunes without missing a beat.
This convenient and efficient process, with the help of Soundiiz, ensures a smooth transition from one streaming service to another, so you can continue your music journey on Spotify with ease.
Chapter 4: Manual Song Search On Spotify
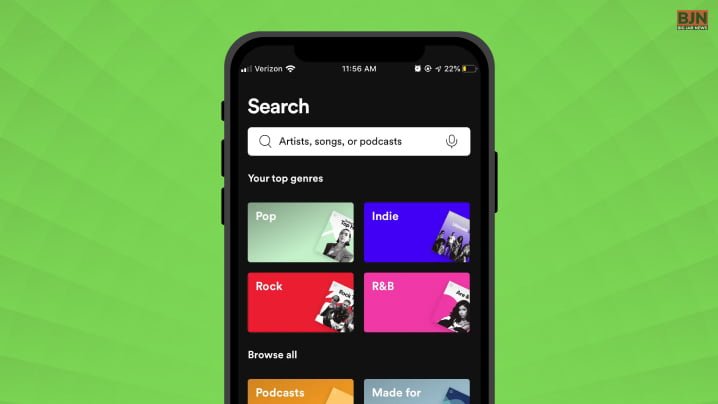
Now, let’s dive into Chapter 4, where I will explore the essential process of manually searching for and adding missing songs to your newly transferred Spotify playlists. While services like Soundiiz make the bulk of the transfer process a breeze, there might be instances where not all songs seamlessly transition. Fret not, as Spotify’s extensive music library is at your disposal to fill in those gaps.
1. Open Spotify:
To begin, open the Spotify app on your device or access it through the Spotify website on your computer. Make sure you’re logged in to your Spotify account.
2. Search for Missing Songs:
Use Spotify’s powerful search bar located at the top of the app or website. Enter the name of the song you’re missing or any relevant keywords like the artist’s name or album title.
3. Add To Playlists:
Once you’ve located the missing song, click on it. You’ll typically see three dots (an ellipsis) next to the song’s name. Click on these dots to reveal a menu of options. Choose “Add to Playlist” from this menu and select the appropriate playlist where the song belongs.
4. Repeat As Necessary:
Continue this process for any other songs that didn’t make the initial transfer. Spotify’s vast library should have most, if not all, of your songs, ensuring your playlists are complete.
This manual search and addition process ensures that your playlists on Spotify mirror your original Apple Music playlists as closely as possible. While it may require a little extra effort, the result is worth it – a seamless transition that allows you to enjoy your favorite tunes on Spotify without any interruptions.
Remember, this step allows you to fine-tune your playlists, ensuring that each song is exactly where it belongs. With your playlists perfected, you’re ready to savor your music library to its fullest potential on Spotify.
Chapter 5: Cleaning Up And Organizing
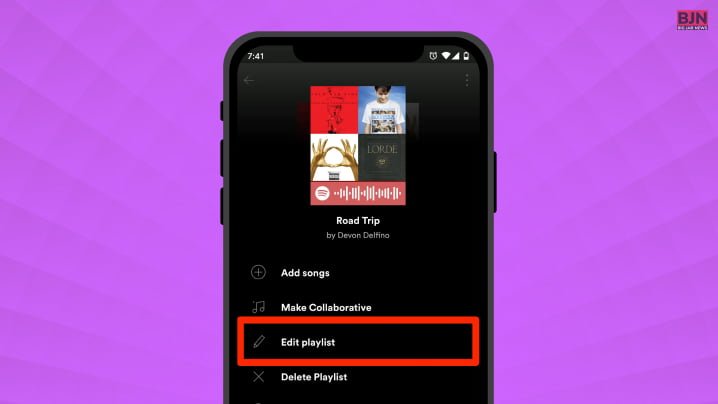
Now that your music has safely made its way to Spotify, it’s time to ensure your playlists are tidy and tailored to your liking. Here’s how to organize your transferred playlists effectively:
1. Edit Playlist Names:
If your playlists’ names need a makeover, simply click on the playlist title and give it a new, descriptive name. This keeps things clear and organized.
2. Reorder Tracks:
Spotify allows you to rearrange songs within your playlists effortlessly. Drag and drop songs to arrange them in the order that suits your mood or flow.
3. Add Artwork:
Personalize your playlists by adding eye-catching cover art. Choose an image that resonates with the playlist’s theme or the music within.
4. Check For Duplicates:
During the transfer process, some songs may appear twice. Use Spotify’s built-in duplicate checker to keep your playlists clutter-free.
5. Customize And Personalize:
Make the most of Spotify’s features. Create new playlists, explore personalized recommendations, and enjoy features like Discover Weekly, which curates fresh music based on your taste.
With these simple steps, your music collection on Spotify will not only sound fantastic but will also be visually appealing and well-organized for your listening pleasure. Happy listening!
Chapter 6: Final Thoughts And Enjoyment
Congratulations on successfully Learning how to transfer Apple Music to Spotify! Now, it’s time to revel in the musical wonders of your new platform. Spotify offers exciting features, such as Discover Weekly and collaborative playlists, making your music journey even more delightful.
With endless possibilities for exploration and customization, you can curate playlists, discover new artists, and embrace your favorite tunes with ease. It’s your music universe to enjoy, and if ever you desire a change, remember that you can easily switch between streaming services. So, savor the melodies, and let the joy of music take the lead!
Bottom Line
The process of transferring your beloved Apple Music playlists to Spotify may initially seem complex, but with the steps outlined in this guide, it becomes a straightforward and rewarding experience. Embrace the exciting world of Spotify, where an extensive library, personalized playlists, and innovative features await your musical journey.
Whether it’s the discovery of new tunes through “Discover Weekly” or collaborative playlist creation, Spotify offers endless possibilities for music enthusiasts. Keep in mind that your musical preferences are dynamic, and you can always explore other streaming services or return to Apple Music. The key is to enjoy the music, and with these steps, you’re all set for a harmonious listening experience.
If you were searching for how to transfer apple music to spotify, I hope that this comprehensive blog has been of help to you. If there are any other queries related to the same, feel free to comment them in the box below!
Read Also:
Tags:
You May Also Like

September 13, 2023
Learn How To Stop Apple Music From Automatically Playing Easily

September 6, 2023


