How To Make Red Dragon Fruit Wine?

Table Of Contents
If you are looking for a sweet, fruity, refreshing wine as a dessert, dragon fruit wine is probably the best one to have.
The best thing is that you can make this wine at home. You just need to ferment the dragon fruit extract, and you are all set to have this tasty wine at the tip of your tongue.
The best part of dragon fruit wine is that it tastes sweet, but it also has a tannin flavor that makes it exquisite. Even if the red dragon fruit is not sweet enough, you can add sugar to balance the taste. This wine tastes the best when it is paired with chocolate and cheese.
How To Make Dragon Fruit Wine?- Ingredients, And Equipment

If you want to know how to make dragon fruit wine, you must know the ingredients and equipment first. The ingredients will be:
- Water- 1 liter.
- Red Dragon Fruit- 1.5 kg.
- Sugar- 300 grams.
- Salt- 10 grams.
During the fermentation stage, you will need a dark-colored wine bottle to hold the mix. If you don’t have a dark-colored bottle, you can use a light-colored one. Just wrap an aluminum foil around the bottle to add a dark shade.
If you wonder why we didn’t add yeast to the ingredient, we will tell you why. The red dragon fruit already has many microbes, so we won’t need an additional yeast activator to ferment the mix. Instead, it’s better to choose a ripe red dragon fruit so that when you cut it open, you get the aroma all around the room.
If you are still thinking about making dragon fruit wine without yeast, you can use mineral salt or brown sugar. Since brown sugar and mineral salt are not so much processed, they contain some minerals that you can use as microbes instead of yeast.
Make sure your water source is chlorine-free and clean. It may not make much of a difference during the making of the dragon fruit wine, but it will impact during the wine tasting.
Let’s Prepare The Wine Now!
Step 1: Cutting And Blending The Dragon Fruit

You can cut the dragon fruit with a knife and put the pieces in the mixer. The juice that you’ll get will still have a good source of making the dragon fruit wine. However, the centerpiece holds the tastiest extract, and that may get spoiled in this process.
You can also use a blender to blend the dragon fruit. It will indeed have much pulp in the end product, but you can filter that out later. So, it will be another effective way of preparing the dragon fruit to make the wine.
If you use a juicer machine, you can filter the pulp and the juice right there. Then, when you collect the pulp separately, you can add yogurt or banana as a sweetener to the wine. So, for 1.5 kg of dragon fruit, you’ll get approximately 800 ml of juice.
Step 2: Boil The Salt, Sugar, And Water

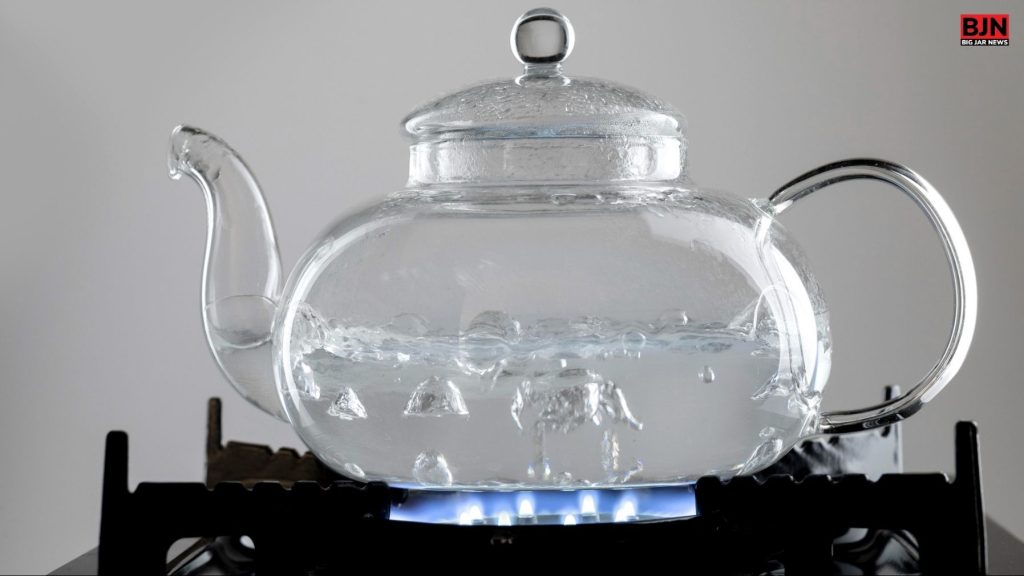
Now, you need to boil the water in a cooking pot. Once it starts to boil, pour the salt and sugar in it too. When you see the salt and sugar dissolved in the water, you can pour the dragon fruit juice into the mixture.
After you pour the juice into the water, it’s time to stir the mixture well. Use a large spoon and give it 2-3 rounds to stir the mix, and pasteurize it well. Lift the pot off the stove immediately when you are done with the rounds.
You may see some bubbles around the corner of the mixture. It’s not a good sign, but it’s pretty standard. So, just scoop those bubbles out with the spoon. Now, stir the mixture for a few seconds off the stove to incorporate all the ingredients well.
Step 3: Bottle The Wine

You need to bottle the wine now. But, don’t pour all the mixture into the bottle at once. Instead, leave some space on the top for the microbes to breathe in. You can also use a decanter if you want.
After pouring the dragon fruit wine into the bottle, it will feel quite hot. So, don’t cap the bottle while it feels such. Instead, just wait for some time to cool off the temperature and cap it then. Make sure you use the cap that comes with the bottle because it’s airtight and won’t cause any problem in your mix.
You may have to shake the mix a few times during the first few days, so we recommend not using a cork. But, some corks are made with oak wood, so when you shake it and the mix comes in contact with the cork, it will use its mold-resistant properties.
The Fermentation Stage

If you think you have figured out how to make dragon fruit wine, you are wrong. We are just getting started there. We have completed the basic steps now, so it’s time to ferment the wine now. Let’s look at the steps:
Step 1: Adaptation For 1 Day
Once you put the wine in the bottle, you need to give some time to the microbes to adjust to the new environment. So, keep the bottle still for 1 day after pouring the wine, and don’t do anything to move the bottle here and there.
Step 2: Multiplication For 1 Week
Once the microbes have adapted to the new environment after a day, the yeast will maximize its production now. They will need oxygen to complete the multiplication process. So, for the next 7-10 days, give the bottle a few shakes from time to time to let the microbes breathe. Before shaking, open the cap of the bottle, and keep it still in an airy environment. Then, close the lid, and shake it.
Step 3: Stabilization For 3-5 Weeks

The next stage that you have to look into is stabilization. In this stage, you do not have to shake the bottle anymore. All you have to do is let the bottle sit with the closed cap. During this fermentation process, there is no need for oxygen.
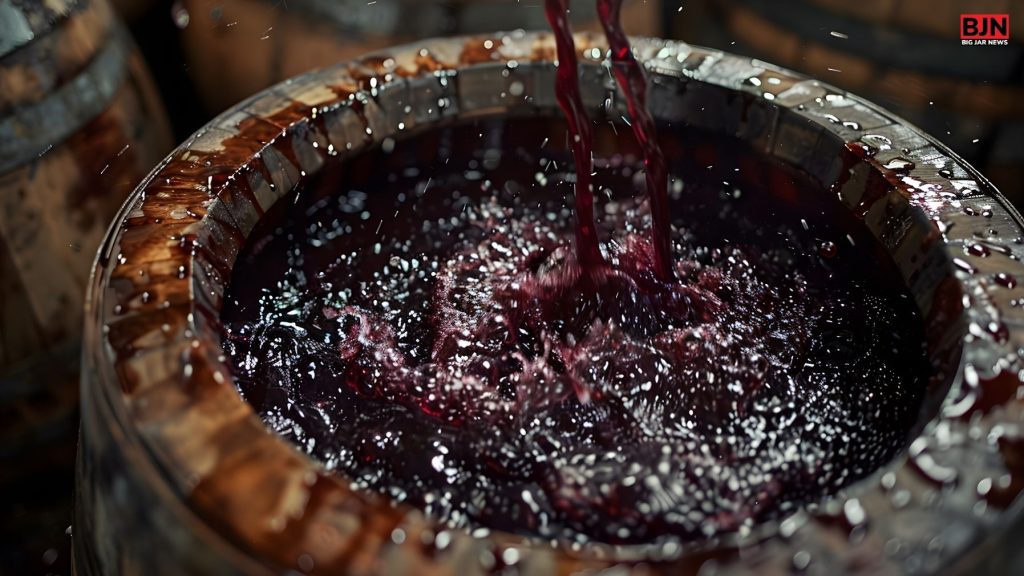
During this stage, the microbes will consume the salt and sugar that are provided for them. You will notice a good number of microbes in this stage, and you will notice the bubbles floating up in the glass bottle as they eat.
This period will last for almost 3-5 weeks. After the microbes are done consuming the salt and sugar, they will eventually die. This is the time when ethanol or alcohol starts to be created.
As more alcohol starts to be created, along with the alcohol tolerance of every yeast, the alcohol level inside the mixture passes the yeast’s tolerance, the yeast will die too. Moreover, you might even notice a layer of yeast settling at the bottom of the bottle.
The aroma will also start developing slowly. At the end, you will be left with an amazing wine with some bio-activators juiced out by the yeast.
When you take the bottle out after 3- 5 weeks, you will notice the liquid inside has become clear. There is almost no bubbling.
However, there will be a layer of sediment at the bottom of the bottle. This layer is the leftover pulp from the dragon fruit along with the dead yeasts.
This is the sign that indicates the fermentation process is done. You can take the wine out and try it at this point. However, the taste is not there yet, it will come after the last step and take things to the next level.
Step 4: Extraction And Ageing

Your dragon fruit wine is ready now, but it won’t taste as good as you might have expected. So, just extract the liquid out from the bottle, and pour it in a different bottle. You just need to let the wine age now because the older it is, the better it tastes. You can even keep the bottle underground at a moist temperature of 20 degrees celsius. Then, when you take it out occasionally, it will be a treat for you.
A Few Tips To Avoid Contamination
There are certain things you can try to minimize the contamination. What are those? Let’s find out:
- Steam sterilize or pasteurize the tools before making
- Try not to make a lot at once. It preparation time will be longer. Moreover, when you divide it into smaller batches, it reduces the period and there is less risk of contamination.
- Ensure you are preparing the wine in a dry and clean place. Remove all the contamination agents from the vicinity.
The Bottom Line
Some of you may worry that the dragon fruit wine might get contaminated if you age it. However, if you ensure the space where you make the wine is clean, your tools are steam-sterilized, and you are not making a massive amount of wine at once, it will be safe for consumption.
If you follow these steps, you can enjoy your dragon fruit wine to its utmost level. If you have more questions regarding it, ping us in the comment box.
Read Also:
You May Also Like

December 30, 2023


